
| Prep time | 5 minutes |
| Proof time | 2 – 3 hours |
| Cook time | 15 – 25 minutes |
| TOTAL | About 2.5 – 3.5 hours |
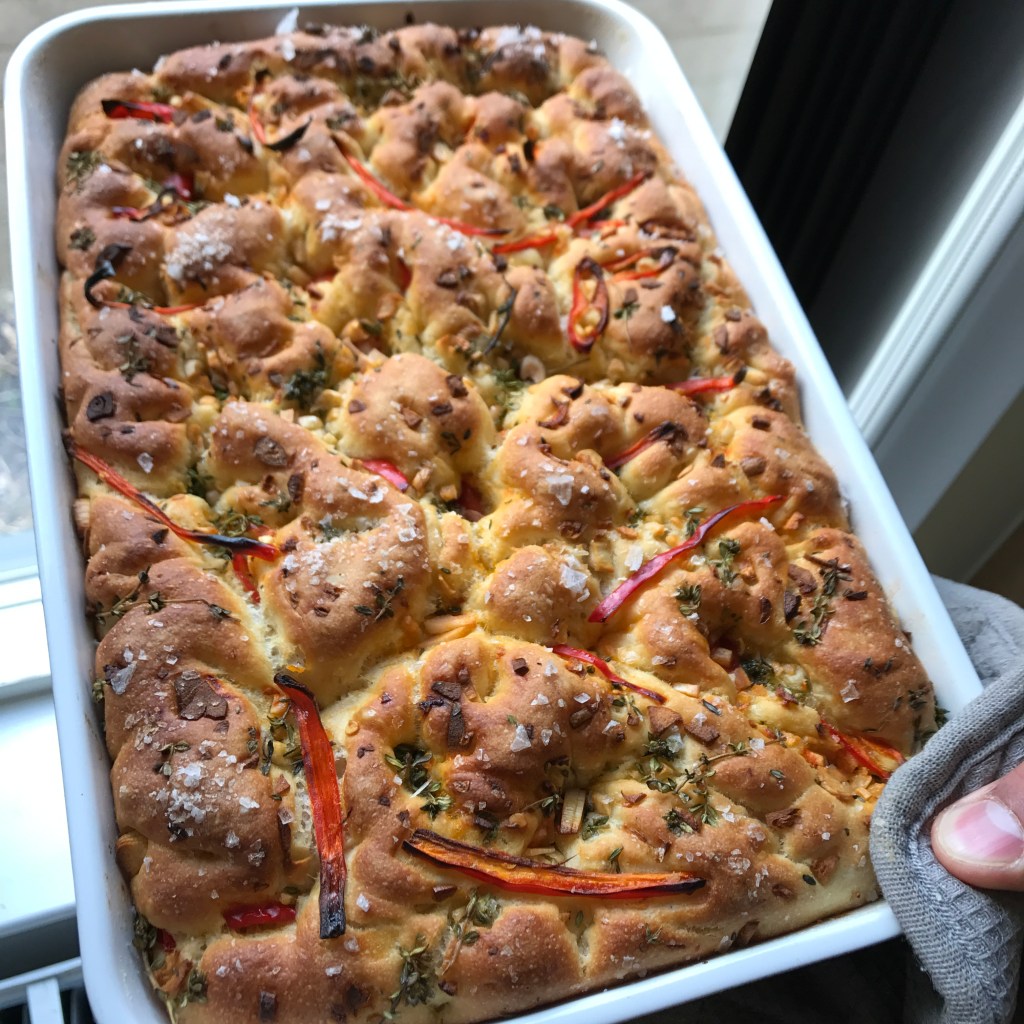
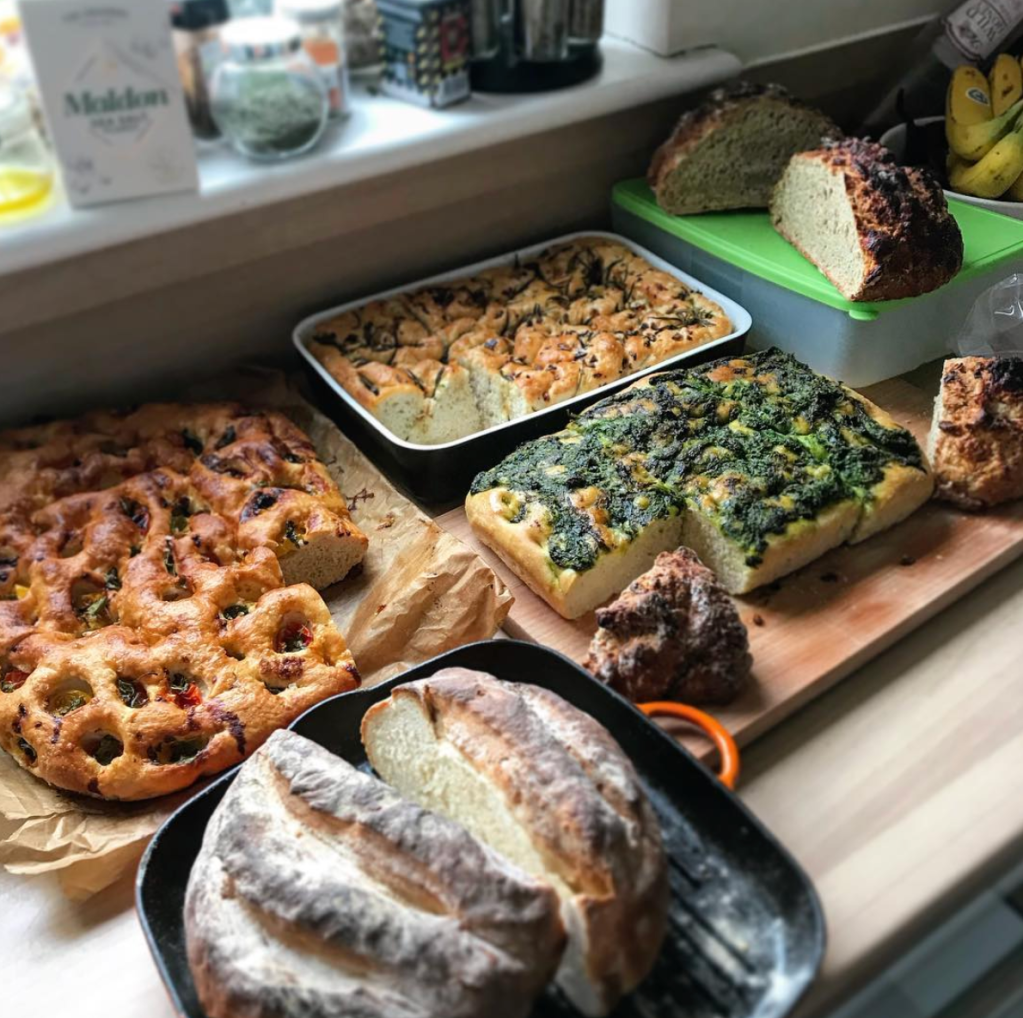
Focaccia seems to be the bread everyone always starts out with, that’s probably more or less because it’s so versatile with the toppings. If you strip all of that down and don’t poke any holes in, it’s practically just another loaf of white bread. There are 1000s of focaccia recipes with their own ratios and here’s what’s been working for me over the years, so I hope you enjoy this as much as I do! Don’t be afraid to go crazy with the toppings. Happy baking!
Ingredients:
- Strong bread flour 500 g
- Water 325 ml + 50 ml extra
- Extra virgin olive oil 50 ml + Extra
- Dried yeast 10 g
- Sugar 5 g
- Fine salt 10 g
- Sea salt As needed
- Heat 325 ml of water till 35 – 40*C and mix in the dried yeast and sugar. Leave, covered, in a warm place for about 30 minutes. At the end of this period you should notice foamy bubbles on top of your water. Congratulations, your yeast has been ‘activated’.
- In a large bowl, mix the flour and salt together until fully combined.
- Then slowly add in the ‘yeast water’ and olive oil into the bowl of flour and combine well. You can either use your hands or stir it with a fork.
- If you feel that the dough is still too dry, add the extra water in small increments until everything combines ‘just-nice’. It shouldn’t be too dry or too wet of a dough.
- When everything is fully combined and has stopped sticking to the edges of the bowl, roll your dough onto a well-floured surface and start to knead the dough. There are many ways you can do this with your hands but personally, I prefer holding an end of the dough down with one hand whilst using my other hand to gently pull and stretch the dough towards me. Rolling back and forth a couple of times.
- Then rotate it by 90* degrees and do the same. Continue this for about 5 – 15 minutes. You’ll know when your dough is ready when it starts to form a perfectly round and smooth ball.
- Shape the dough into a ball and leave, in an oiled bowl covered in cling wrap, to proof in a warm place for about 1 hour or until it has doubled in size.
- When the dough has doubled in size, gently press the focaccia down (DO NOT PUNCH IT DOWN!) and transfer it into a flat rectangular baking sheet. Spread it evenly and let it proof for another 30 minutes.
- After the second proof, rub olive oil all over the focaccia and gently poke holes into it. It helps if you leave your fingers in for a couple of seconds before taking them out and moving on.
- Toppings – here’s where you can get creative and put on whatever you like! See Variations below.
- Let the focaccia proof for another 30 minutes and pre-heat your oven to 240*C with another tray that’s big enough for your original baking sheet to fit on.
- Just before putting it into the oven, sprinkle over with sea salt. Bake for about 15 – 25 minutes. The cook time varies depending on your oven. Take out the focaccia when it looks like it is ‘almost’ going to reach the colour your going for. A nice golden brown is what you want. More often that not, if you do not pull it out a little early, you risk having a bitter dark crust. You don’t want this for a focaccia.
- Remove the focaccia from the baking sheet and let it cool on a wire rack for about 30 minutes before cutting into it.
Variations:
- Rosemary and garlic (Add anchovies for a different salty kick but remember then to reduce the amount of flaky sea salt).
- Sage, garlic and chilli (personal favourite) – pound into a paste with a little bit of extra virgin olive oil and spread all over.
- Pesto of any kind (genovese, salsa verde, etc.).
- Olives (whole or as a Tempenade) with or without capers.
Tips and Tricks:
- Step 1 – Don’t worry if it doesn’t foam up too much, depending on the brand you use, you’ll get a different reaction with each. Sometimes its a few bubbles, sometimes it’s like the top of a Guinness. We will get into the rocket-science of bread in a more complicated recipe!
- Steps 3 – 4 – Some flours absorb more moisture than others, so depending on which flour you use (amongst other factors), you may sometimes need more (or less) water than what a recipe calls for. So play around with this recipe until you find your sweet spot. For me, that was 375 ml.
- Don’t chop your toppings too small, they will burn. Another thing you can do is take your bread out half way and then put the toppings on – but I don’t really like to do that.
